
Maya Graph Editor Basics for Better Animation

A character can look perfectly posed in the viewport and still feel lifeless in motion. Often, the problem is not the pose. It is the curve between poses. Learning Maya graph editor basics gives animators direct control over timing, spacing, acceleration, and follow-through - the details that make a performance feel intentional rather than mechanically interpolated.
For aspiring professionals, the Graph Editor is not a technical side task reserved for final polish. It is where animation principles become visible. A convincing shift of weight, a clean hand arc, a delayed head turn, and a held expression all leave a clear signature in the animation curves.
Why the Graph Editor Matters in Character Animation
Maya automatically creates interpolation between your keyframes, but the default result rarely matches the performance you have in mind. A character does not move at one even speed, stop instantly, or rotate through every action with identical force. The Graph Editor lets you shape those transitions with precision.
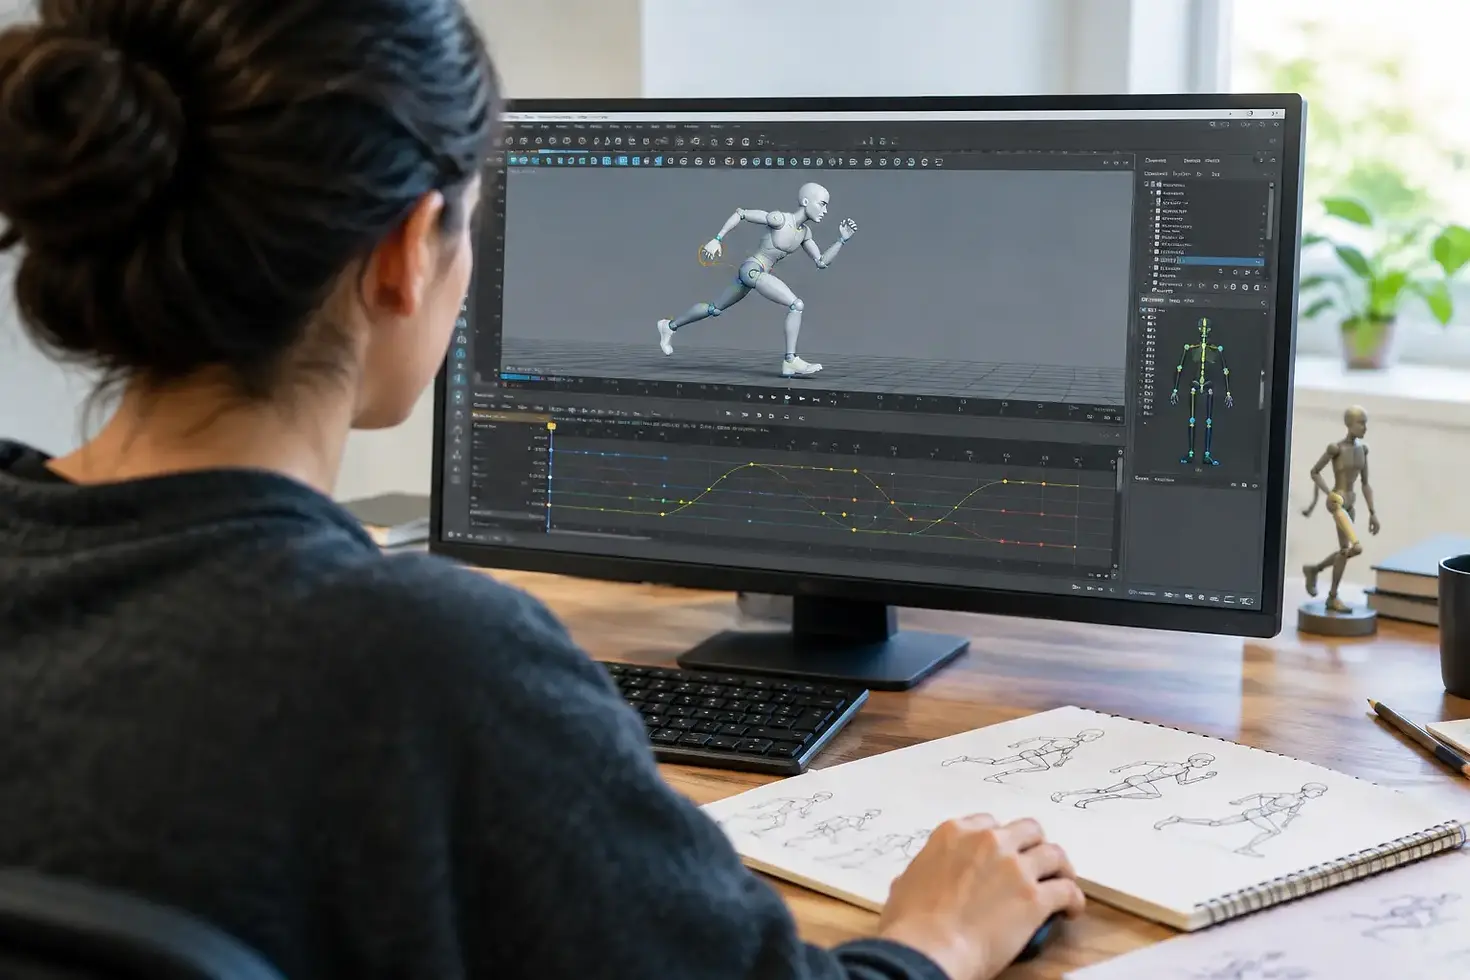
Think of every curve as a record of change over time. The horizontal axis represents frames. The vertical axis represents a changing value, such as a control's translate X position or rotate Z angle. A steep curve means the value changes quickly. A flatter curve means it changes slowly. When you can read that relationship, you stop guessing at motion and begin making deliberate animation decisions.
This matters in a production setting because supervisors and leads assess more than whether a shot works at first glance. They look for clean mechanics, controlled arcs, consistent spacing, and choices that support character intent. A polished Graph Editor workflow makes your animation easier to revise, easier to hand off, and stronger for a demo reel.
Maya Graph Editor Basics: Reading the Interface
Open the Graph Editor after selecting an animated control. Maya displays the channels that have keys on that object, such as translate, rotate, scale, and visibility. For character animation, translation and rotation channels are where most of your attention will go.
The left panel lists animated attributes, while the main panel displays their curves. Selecting a channel isolates it visually, which is especially useful when a rig has many controls. If the screen becomes difficult to read, frame your selected curves and keys before editing. Staying oriented is a practical habit, not a minor convenience. It prevents accidental changes to the wrong channel.
Each key has a value and a frame. The handles extending from a selected key determine how the curve enters and exits that key. These handles control the easing of the motion. A rounded transition creates gradual acceleration or deceleration. A sharper transition creates a more abrupt directional change. Neither is automatically correct. The right choice depends on the action, the character, and the story beat.
Curves Are Motion, Not Just Data
A bouncing ball provides a simple example. As the ball falls, its vertical position changes faster and faster. On the graph, the curve becomes steeper as it approaches the ground. After impact, the direction reverses quickly, creating a pointed or tightly controlled change at contact. As the ball rises, the curve gradually flattens toward the apex because the ball is slowing down.
The same logic applies to a character. If a character settles into a chair, the hips should not stop with a perfectly smooth, identical ease on every axis. There may be a firmer change on the vertical motion as the body meets the seat, followed by smaller settling actions. The graph exposes whether that physical story is actually present.
Start With Timing Before Refining Curves
New animators sometimes open the Graph Editor too early and begin smoothing every line. That can produce attractive curves without producing a strong performance. First establish your storytelling poses and timing in stepped mode. Make sure the character's decisions read clearly: when they think, when they react, when they commit to an action, and when they recover.
Once the blocking works, convert to spline interpolation and assess what Maya has created. This is when the Graph Editor becomes valuable. Look for areas where the computer has added movement you did not intend, softened an important stop, or created a floaty transition between poses.
Do not treat spline curves as a finish line. They are a starting point for refinement. In professional animation, the difference between a rough spline pass and a final pass is often the animator's ability to identify exactly where the curve does not support the performance.
The Tangents You Need to Understand
Tangents determine the shape of the curve around each key. Maya offers several tangent types, but an animator who understands a few core options can solve most early problems.
Spline tangents create smooth continuity through a key. They are useful for flowing actions, but they can also cause unwanted drift when Maya tries to smooth across a pose that should feel held or directional. Linear tangents create a straight path between keys. They can help you see timing and spacing clearly, although they often look too mechanical in the viewport if left untreated.
Flat tangents create a complete stop in velocity at a key. They are helpful at the top of a jump, a held pose, or a moment where the character settles. Use them carefully. If every key is flat, every action can appear soft and over-eased.
Clamped and plateau-style tangents are useful when you want smoother motion without the curve overshooting its keyed value. Overshoot is not always a problem. A wrist may overshoot during a quick stop, and a character's chest may settle past its final position before returning. The question is whether the overshoot supports the mechanics or merely appeared because the curve was left unchecked.
Break Tangents When the Motion Changes Direction
A common Graph Editor mistake is leaving tangent handles unified when the motion needs different behaviour on each side of a key. Breaking tangents allows the incoming and outgoing handles to be adjusted independently.
Imagine a character snapping their head toward a sound, then slowly realizing what they have heard. The head may arrive quickly, creating a steep incoming curve, then ease gently into the next thought, creating a flatter outgoing curve. Unified tangents can make both sides feel similar. Broken tangents let you preserve the contrast that makes the acting choice readable.
Find and Fix Common Curve Problems
Graph Editor cleanup is easier when you learn to diagnose patterns rather than randomly adjust keys. Watch your animation in the viewport, identify the exact frame where the issue begins, then inspect the corresponding channels.
A floating action usually has too much easing or an unclear change of force. Curves may flatten for too long before and after a pose, making the character seem weightless. Tightening the handles or moving keys closer together can restore purpose, but do not simply make every action fast. Weight comes from believable acceleration, deceleration, and contact.
A popping action may have a tangent that changes too sharply, mismatched neighbouring channels, or a key that creates an unintended direction reversal. Check all relevant axes. A hand can look smooth in translate X while popping because rotate Y changes abruptly.
Wobbles often come from unnecessary keys or overshooting spline curves. If a control should move steadily in one direction, its curve should not form several small hills and valleys. Remove keys that do not contribute to the action, then reshape the remaining curve. Fewer, purposeful keys are usually easier to control than a crowded graph.
For arcs, use the motion trail and the Graph Editor together. A clean curve in one channel does not guarantee a clean three-dimensional path. A hand reaching across the body may involve coordinated changes across multiple translate and rotate channels. Evaluate the screen-space arc, then return to the curves to correct the source of any uneven spacing.
Build a Production-Ready Workflow
Work in passes. Begin with the largest body controls, establish the primary action, then refine overlap in the torso, head, arms, hands, and facial controls. Editing every channel at once can hide the real source of a problem. Isolate the part of the body you are solving, while regularly checking the complete shot.
Use the Graph Editor to protect strong poses rather than soften them. Important story poses need clear holds, decisive directional changes, or controlled settles. The exact treatment depends on the character and scene. A stylized television performance may use sharper timing and cleaner holds, while a feature-style close-up may require subtle, layered transitions. Both demand intentional curves.
Keep your scene organized, name controls carefully when building personal rigs or test scenes, and avoid adding keys on attributes you are not actively animating. Clean data supports efficient revisions. That is a practical studio skill, especially when a lead asks for a timing adjustment late in a shot.
At Rocket Sky, animators learn Maya as part of a larger character-performance process: observation informs posing, posing informs timing, and timing is refined through curves. The Graph Editor becomes far more useful when you understand the animation principle behind every adjustment.
Train Your Eye Alongside Your Technique
The fastest way to improve is to stop asking whether a curve looks smooth and start asking whether it describes the right action. Does the character carry weight? Does the movement reveal thought? Is the pause intentional? Does the speed change because of force, emotion, or both?
Open the Graph Editor on your next shot and choose one moment that feels wrong. Identify the exact behaviour you want instead, then shape the curves to serve that choice. That habit turns Maya graph editor basics into a professional way of thinking about motion.


Comments